1
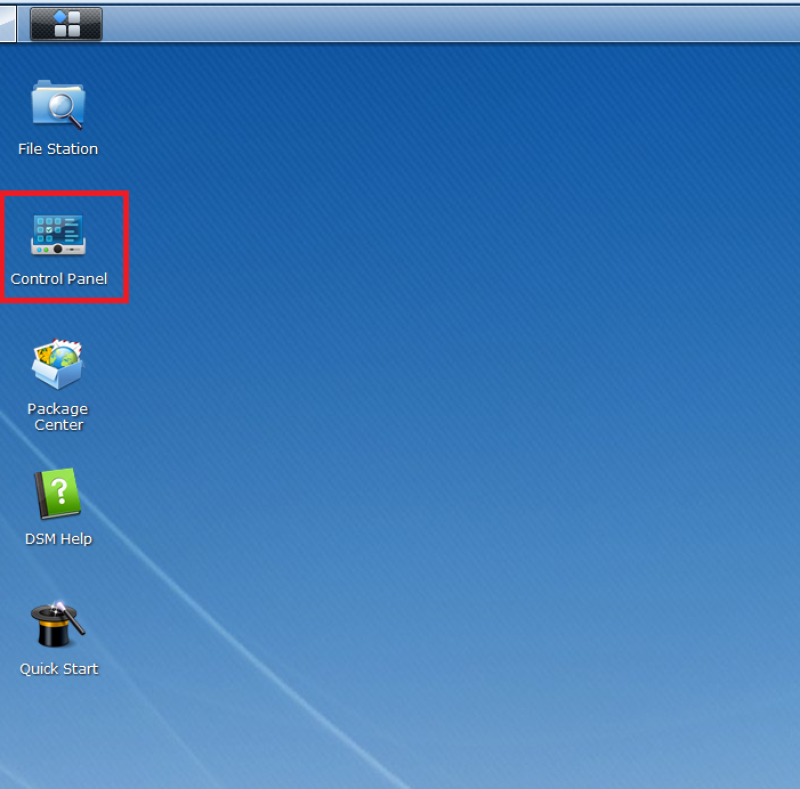
Click on Control Panel
2
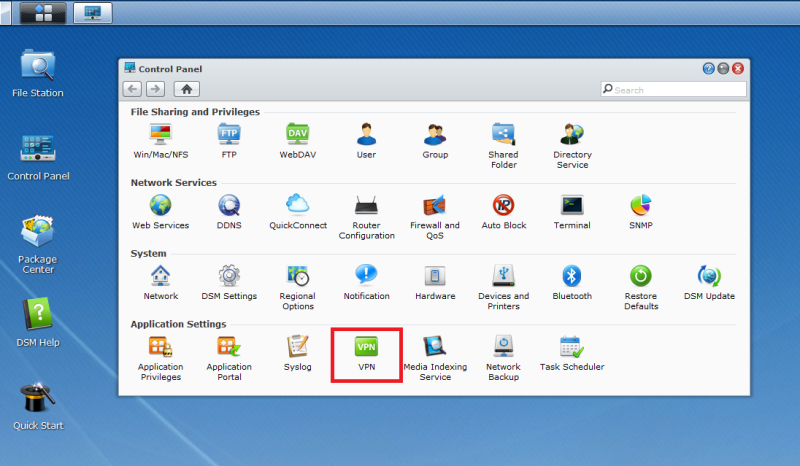
Click on VPN
3
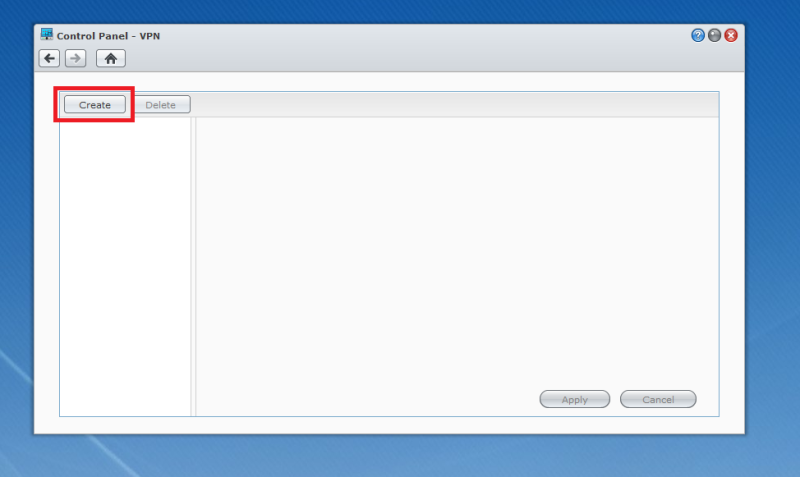
Click on Create
4
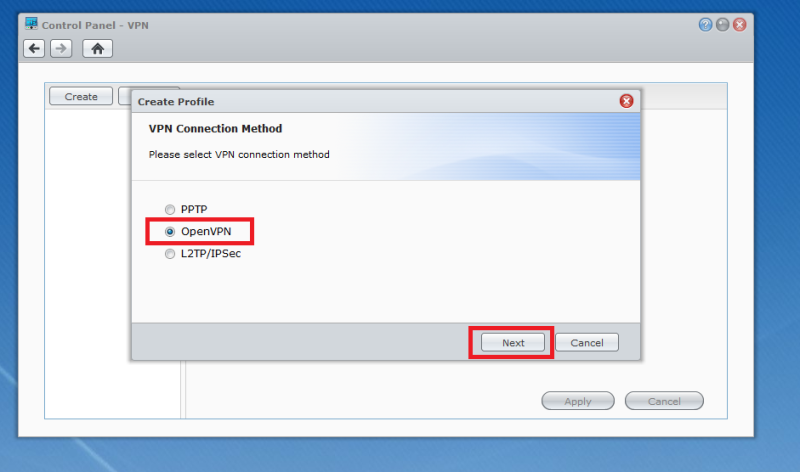
Select OpenVPN and then click on Next
5
Enter following settings on General Settings:
- Profile name: PrivateVPN
- Server address: Server list , for example vpn-se8.privatevpn.com
- User name: Enter your PrivateVPN user
- Password: Your password for PrivateVPN user.
- Download this certificate and extract it to your hard drive: ca.zip
- Certificate: Click on Browse…

6
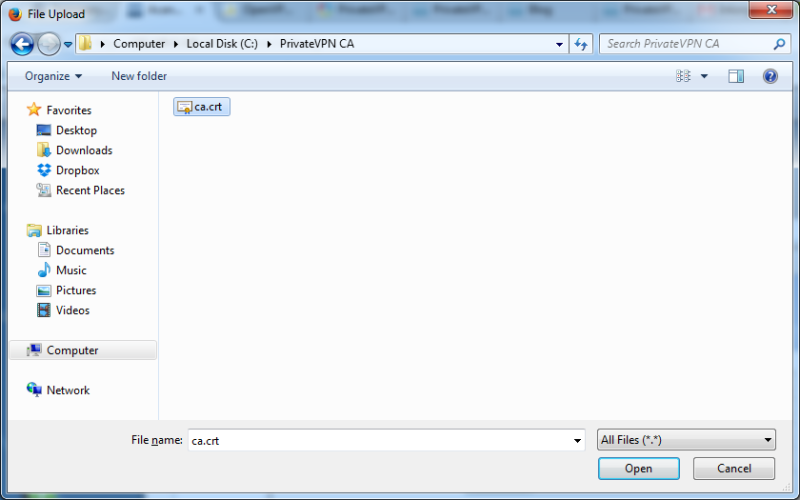
Browse to the folder where you did extract the ca.zip file.
Select ca.crt and then Open
Click Next
7
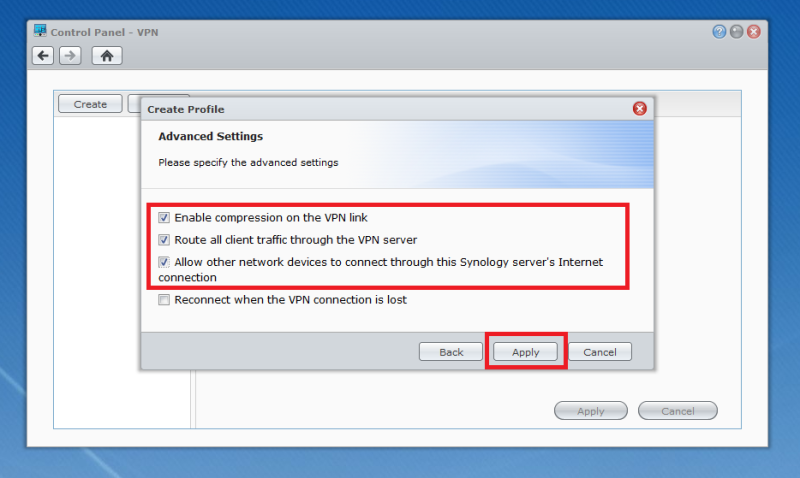
Check following settings:
Enable compression on the VPN link
Route all client traffic through the VPN server
Allow other network devices to connect through this Synology servers’s Internet connection
Then click on Apply
8
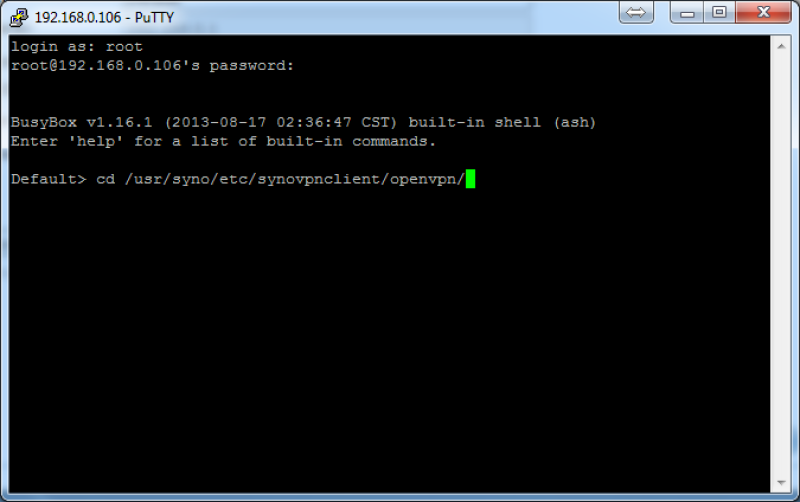
Ensure that you have enabled SSH connection to Synology and connect to your Synology through SSH. In our case we use a tool called Putty, which can be download from here: http://www.chiark.greenend.org.uk/~sgtatham/putty/download.html
Login with root and then write cd /usr/syno/etc/synovpnclient/openvpn/
Then press Enter
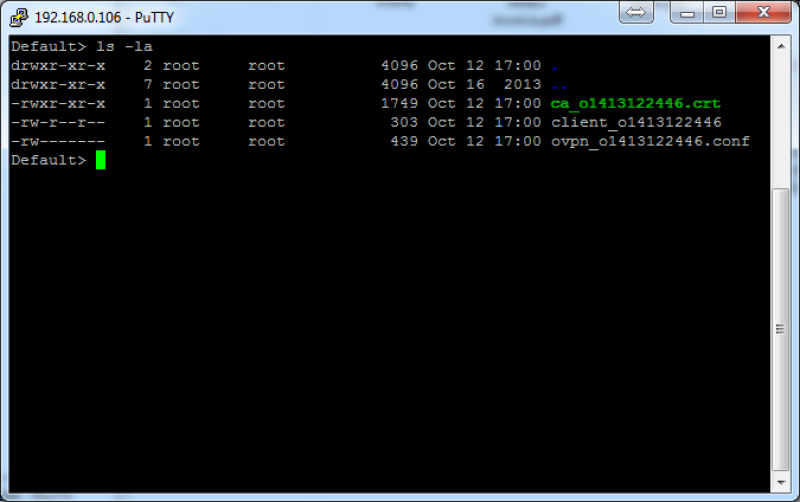
9
Write ls -la to find the name of the VPN client settings file. Look for client_XXXXXXXXXXX, in my case it’s client_o1413122446, but probably not in your case.
10
Now past following script and remember to change client_XXXXXXXXXXX to the one you have:
cat >> client_XXXXXXXXXXX << EOF
tun-mtu 1500
fragment 0
mssfix 1400
cipher AES-256-CBC
EOF
Now press Enter

11
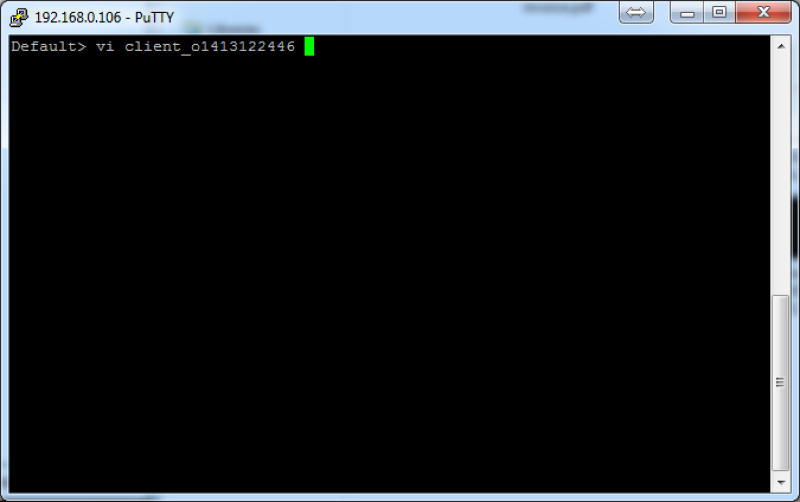
Now it’s time to edit the port number for the VPN connection by editing the client_XXXXXXXXXX file.
In our case we use a tool called vi
Past this line and then press Enter: vi client_YOURFILENUMBER
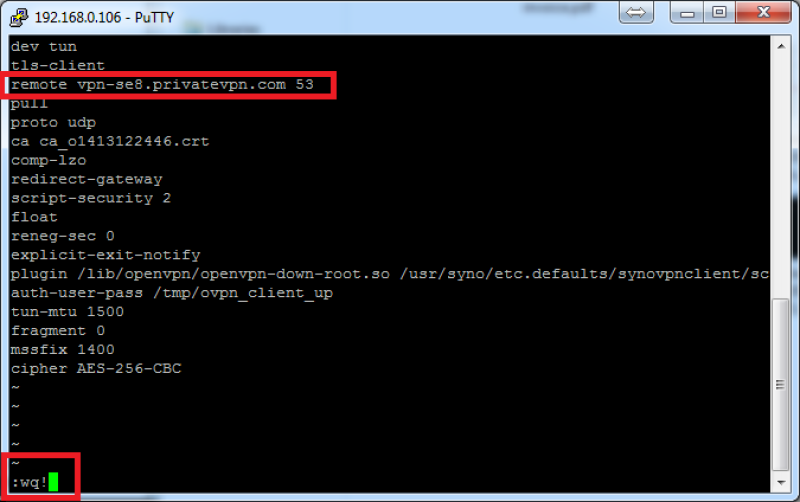
12
Go to line remote vpn-se8.privatevpn.com 1194 and remove port number 1194 and replace it with 53
Hold down left-shift + R to edit. Press ESC to exit edit mode.
Now write :wq! and then press Enter to save and exit.
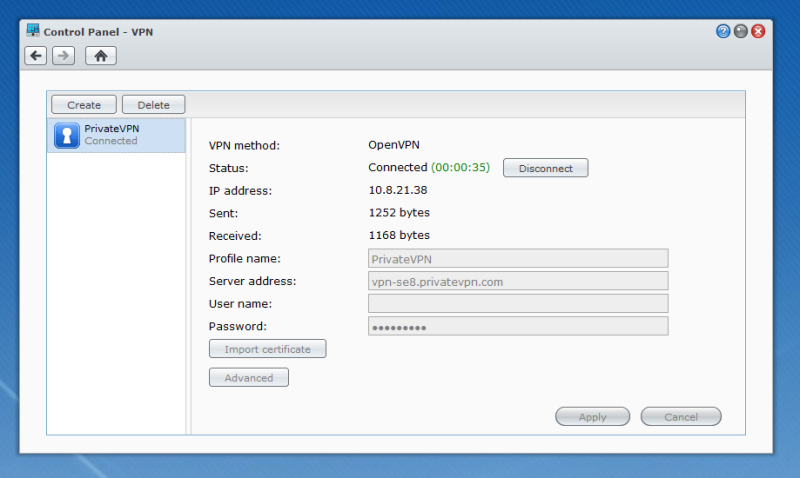
13
Go back to Control Panel – VPN and click om Connect.
Now you’re connected!
Important if you want to change the VPN server!!!
DO NOT change the server address on the Control Panel – VPN, this must be done via SSH by editing the client_XXXXXXXXX file on the line remote vpn-se8.privatevpn.com 53
Otherwise all changed settings like port will be overwritten with default settings and the VPN stops work.